Induction Heater
Context
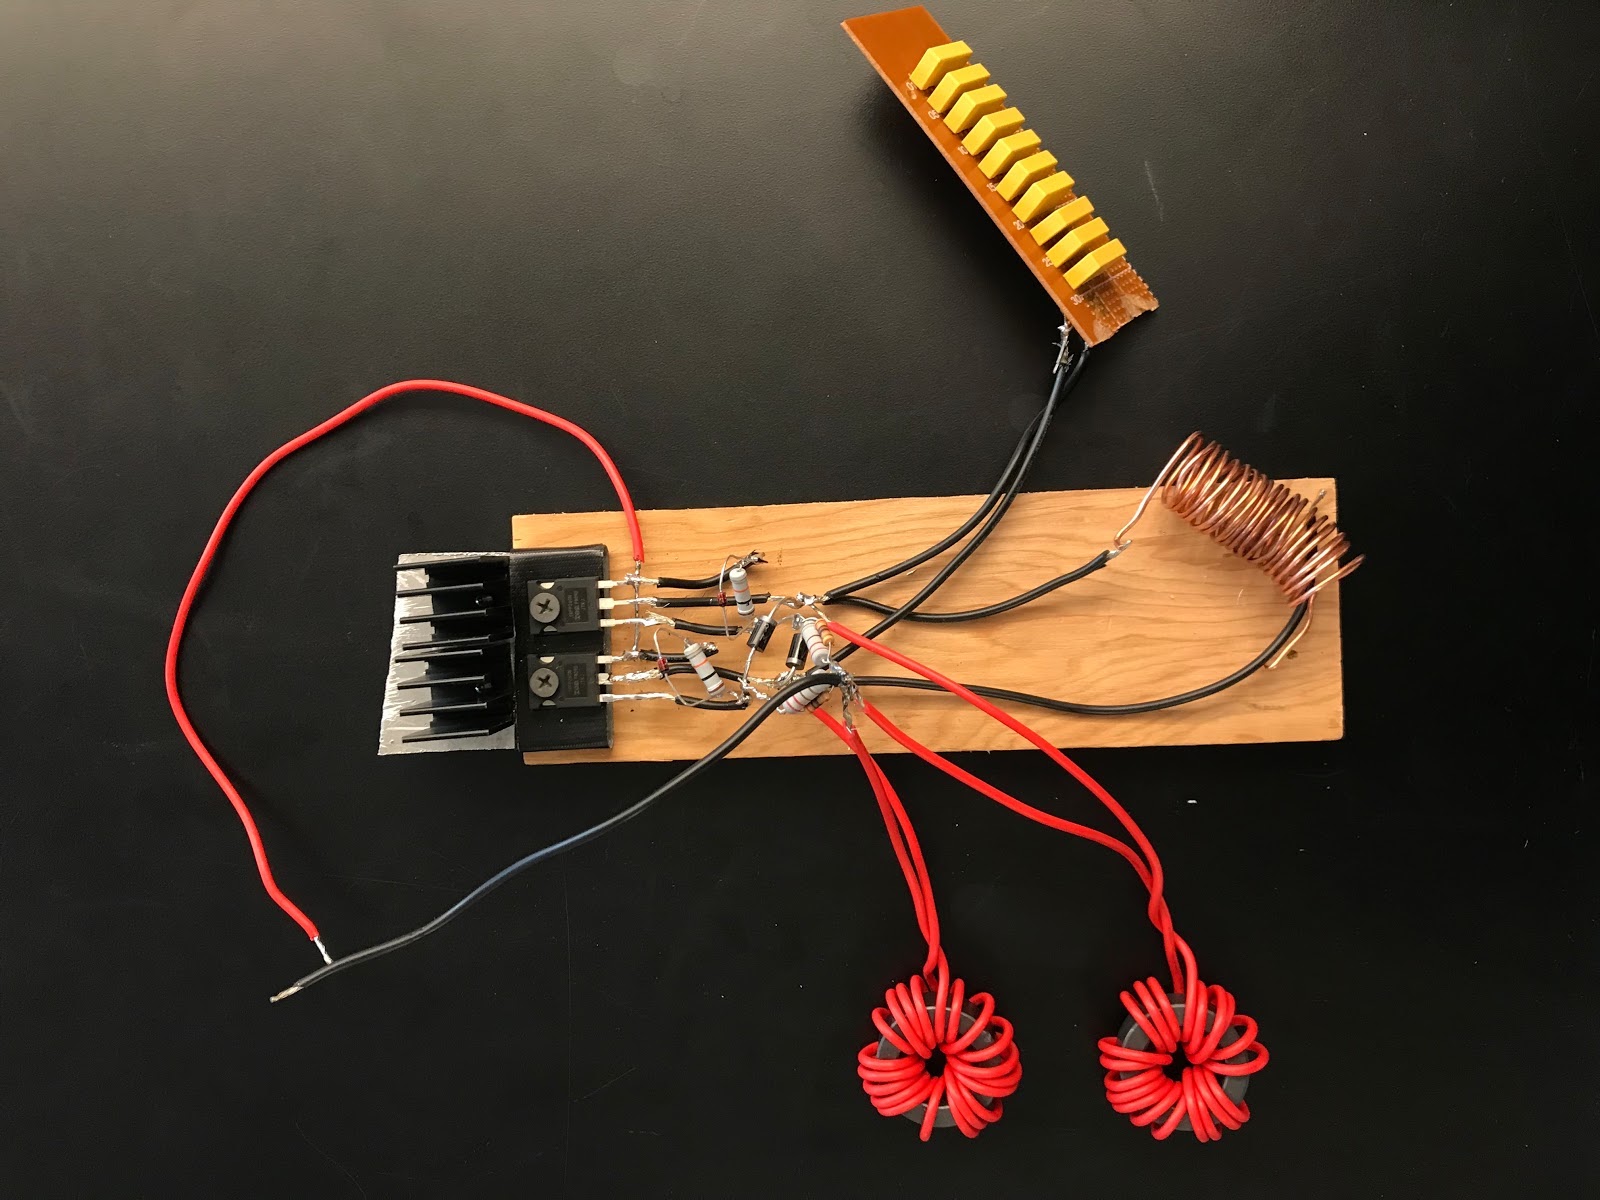
During my grade 12 year of high school, our AP physics teacher gave us an open ended project to study and build something related to one of the principles we had studied in class. Along with a partner, I decided to tackle Faraday's law of induction, and we built a ZVS driven induction heater.
This project was my first introduction to engineering, and it's what sparked my passion for physics and electronics. Although I mostly followed a tutorial for this project, it still gave me a first look at how to source and select parts for soldering together, how to interpret a circuit schematic and how to debug a circuit.
Key elements of this project
schematic
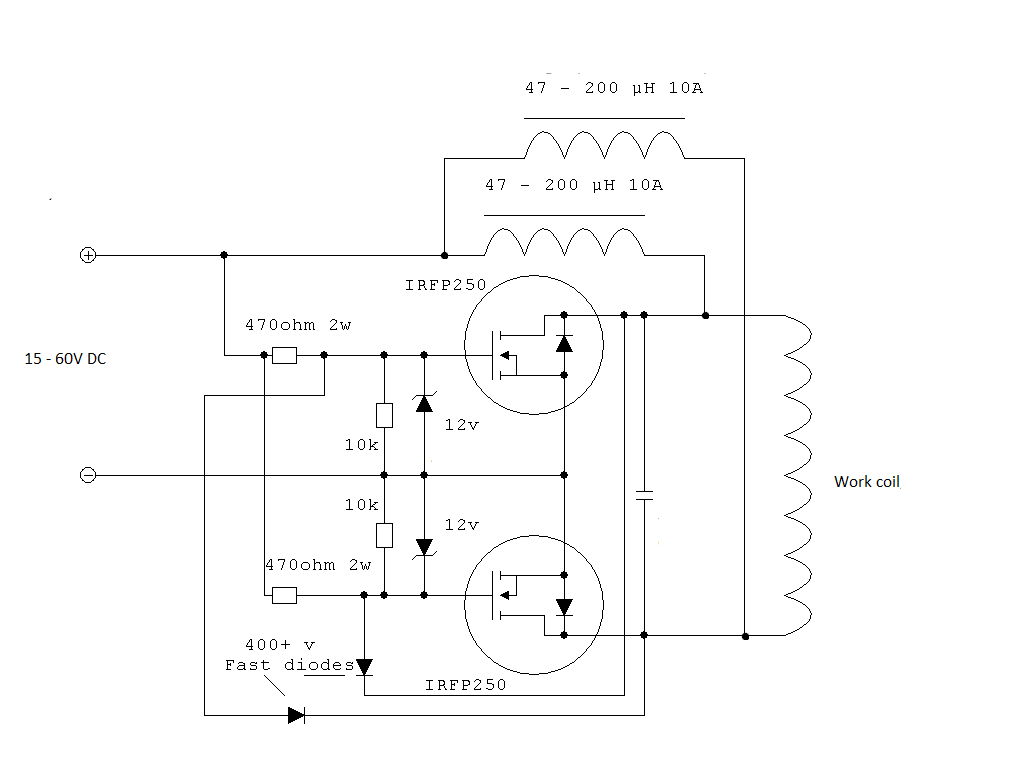 Shown to the left is the schematic we used for the ZVS oscillator circuit. The key to this circuit is the work coil (inductor) and capacitor in parallel which form a high frequency resonating circuit, allowing a high frequency alternating current to flow through the work coil. The circuit is called zero volt switching because the two MOSFETs each take turns supplying energy to the LC circuit, and they switch between being on and off at zero volts.
Operating principles
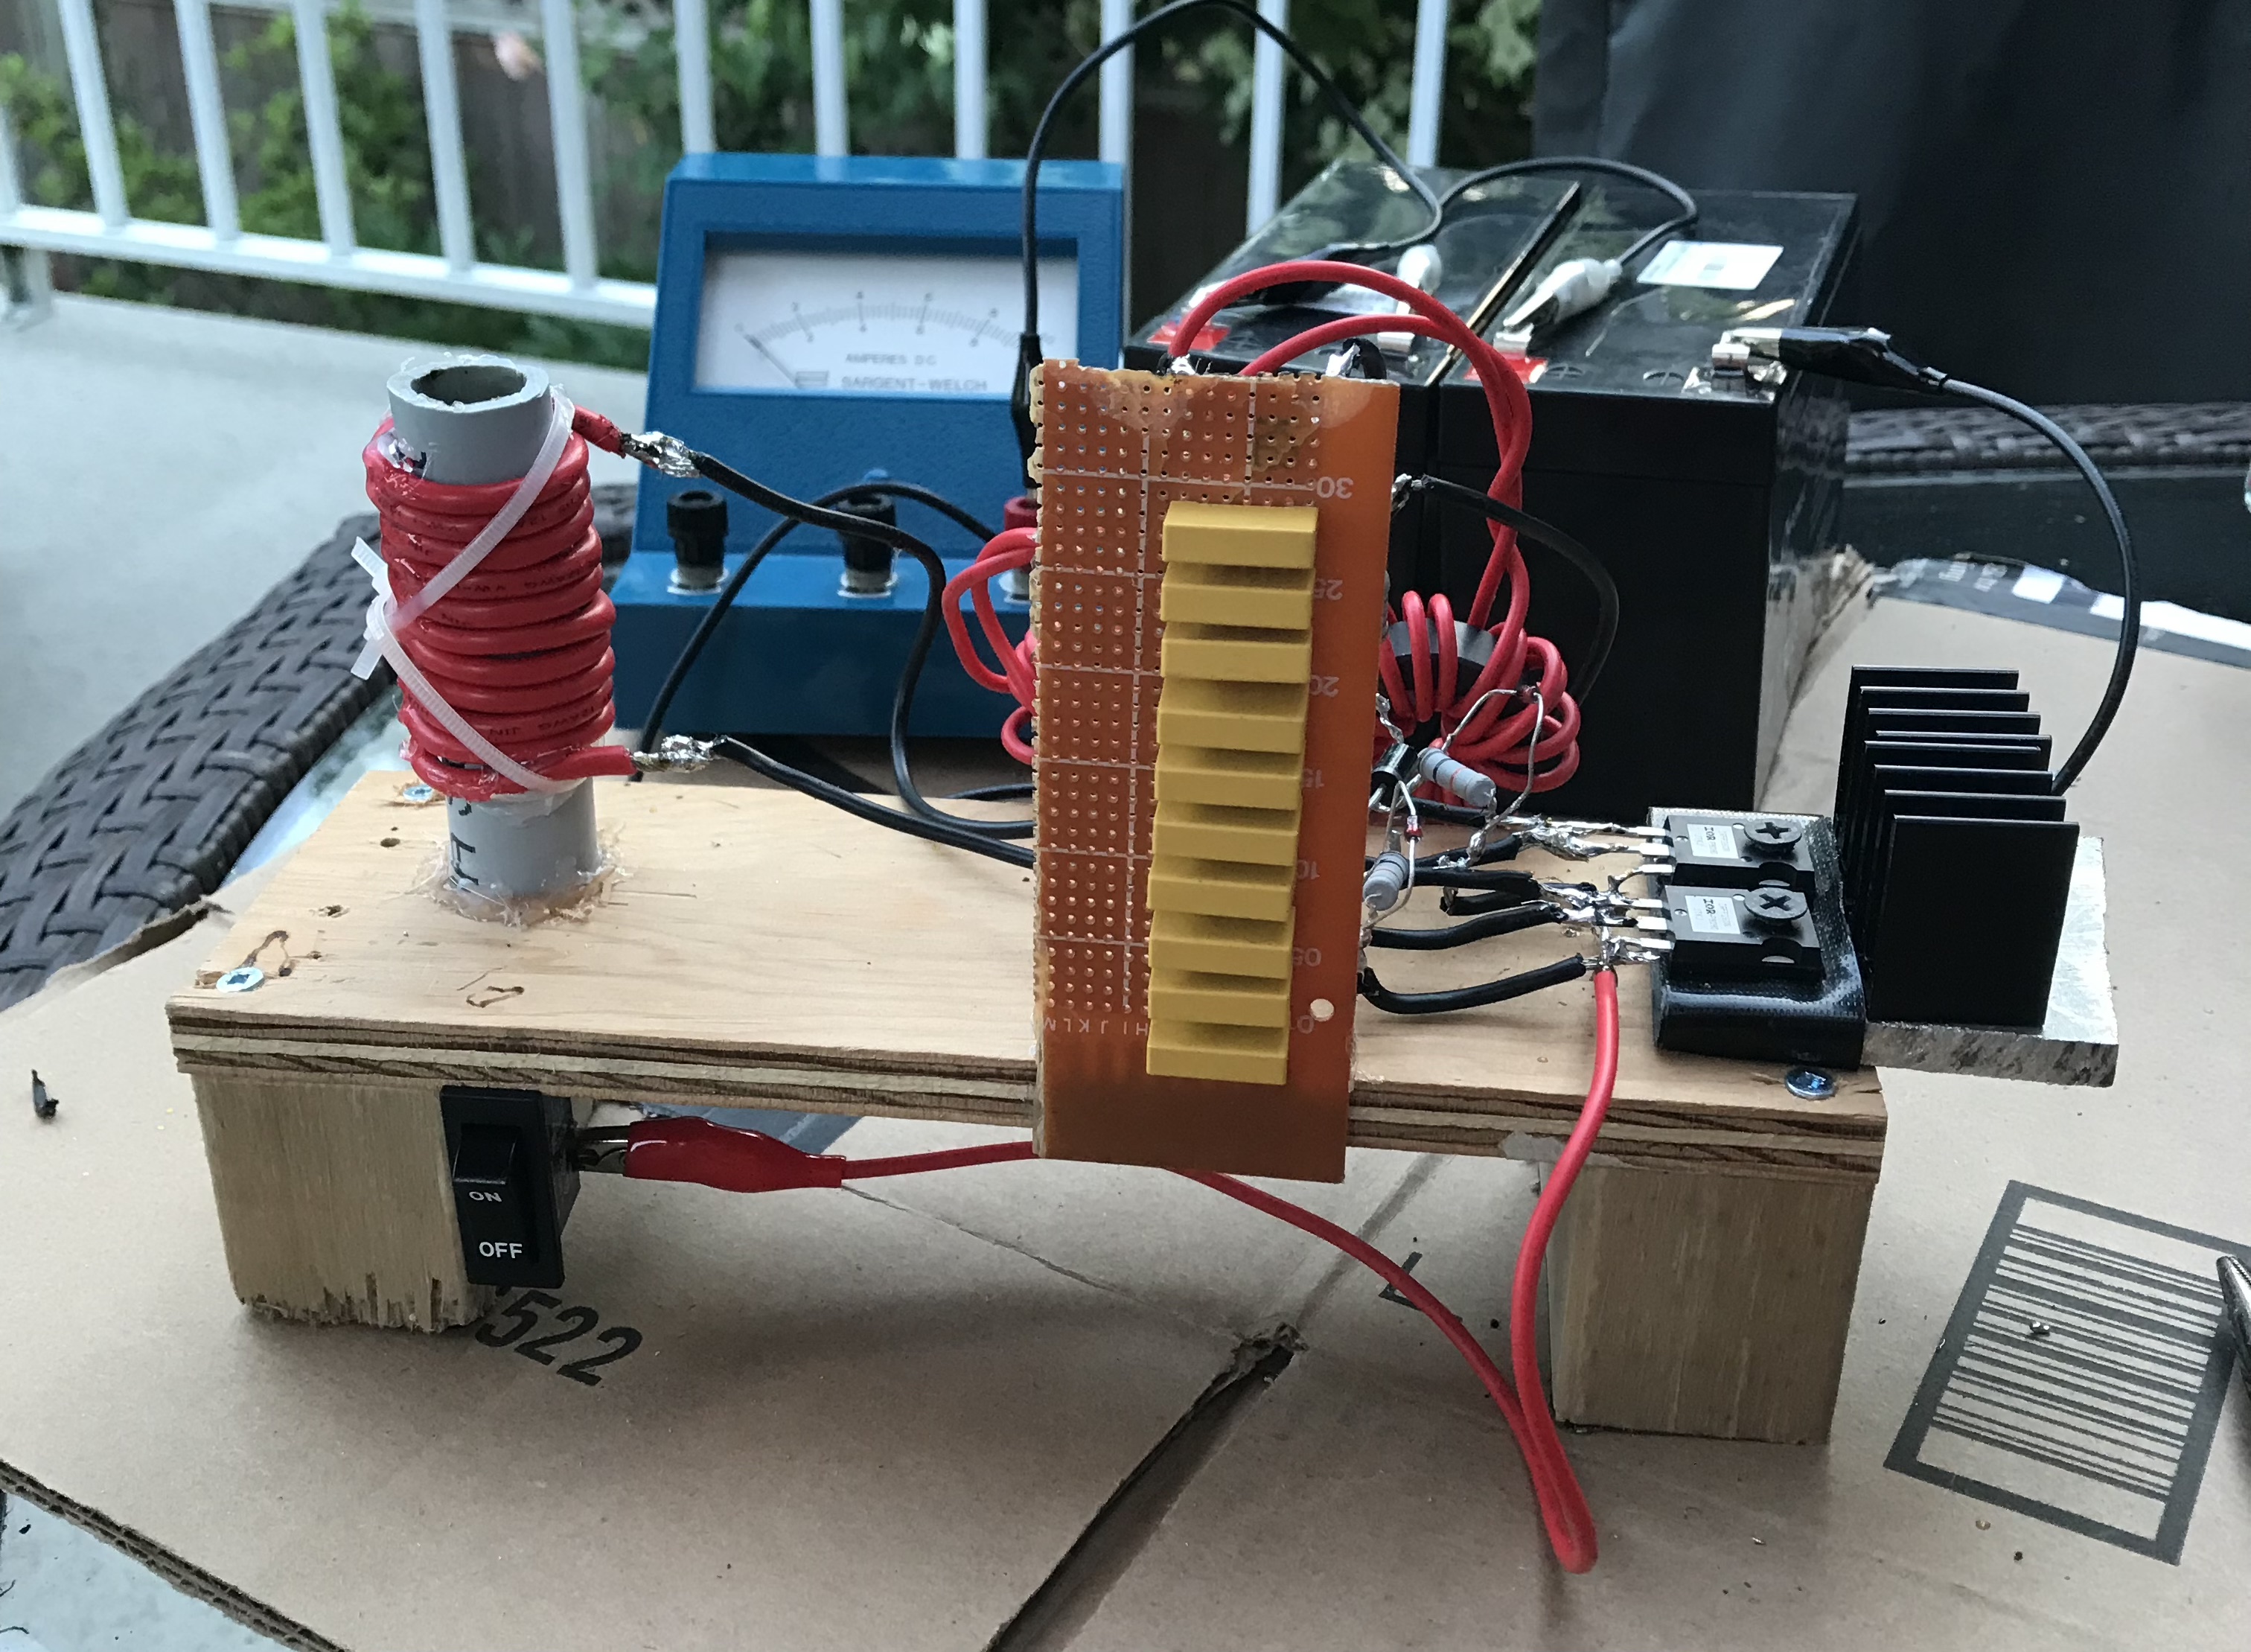
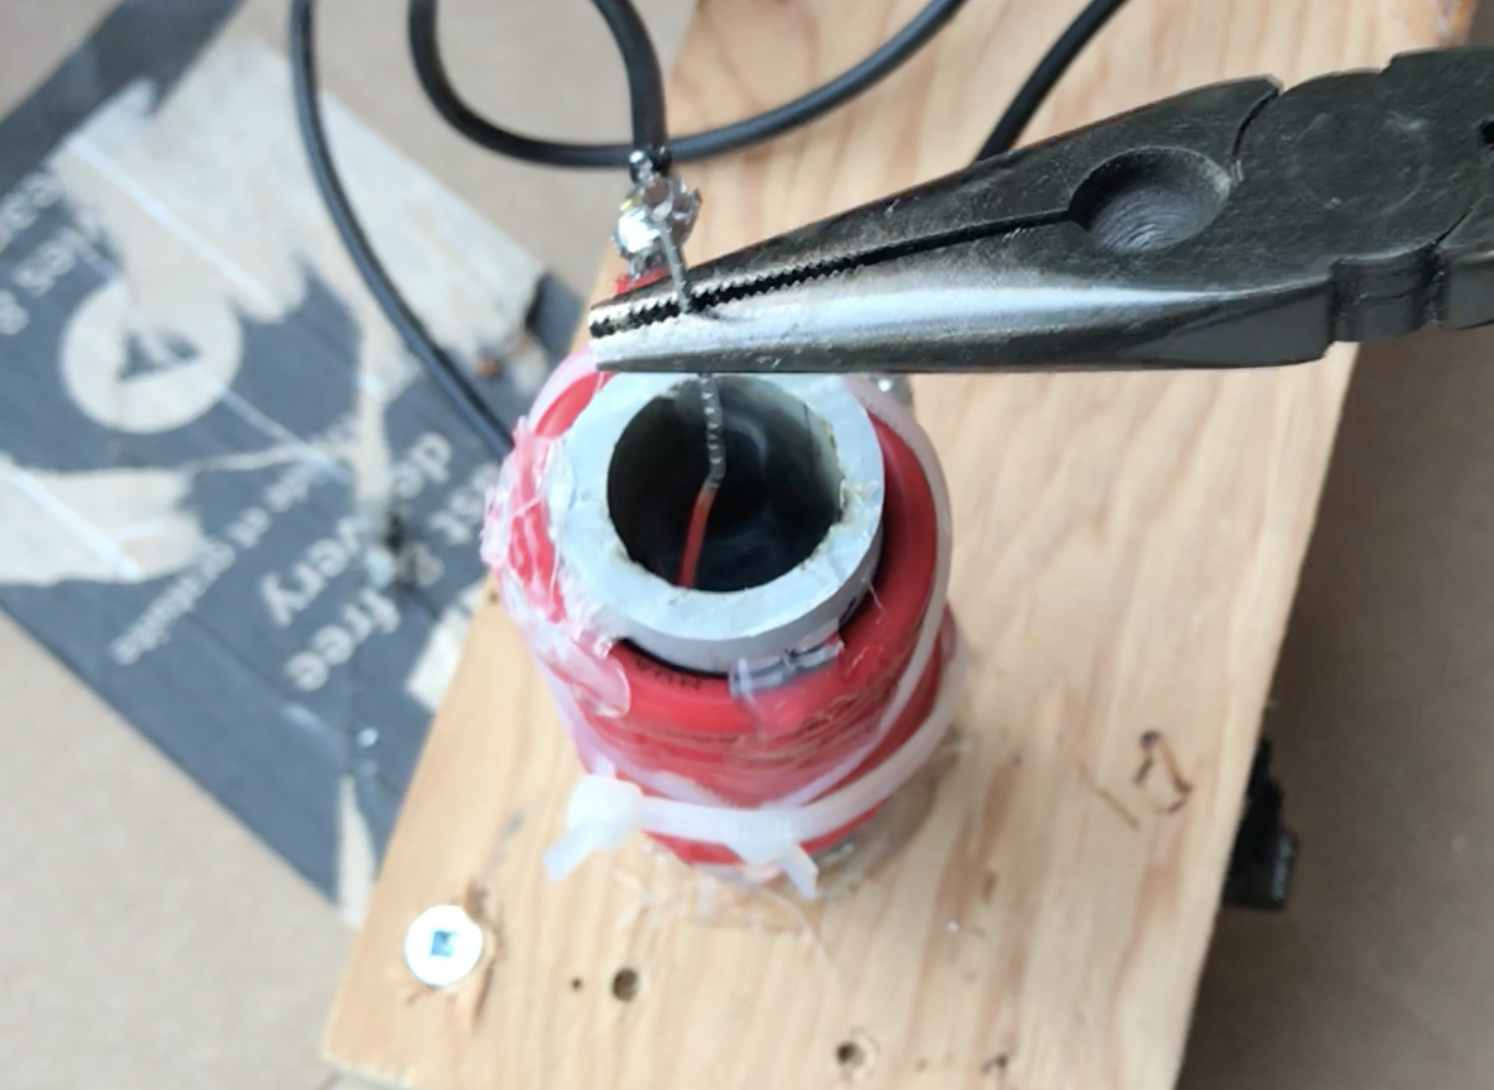 Having built the circuit, we wrapped the work coil around a section of PVC pipe to use as the heating tube. As soon as we turned the heater on, it would send a high frequency current through the work coil, creating a strong oscillating magnetic field inside the center of the pipe. Whenever we put a material with a low magnetic permeability (such as a paper clip pictured to the right) inside the pipe, it would create an induced eddy current inside the material, thus heating it up.
Please check out the tutorial I followed here for a more detailed explanation of everything that goes into this project.